How to Repair Roof Shingles.
The Process Pros Actually Use.
The eight-step mechanical process for replacing asphalt or architectural shingles, including the nail-line detail most DIY repairs get wrong. From a licensed CT roofer.
Tenzin · CT HIC.0703927 · Trust Proof Roofing, Suffield CT
What this is
The mechanics, in order.
Replacing a damaged asphalt or architectural shingle is a real job a homeowner can sometimes do. Whether you should do it is a different question, and it depends on more than skill — it depends on the pitch of your roof, the weather, the temperature, the age of the surrounding shingles, and whether you can match the existing product.
What follows is the literal step-by-step process a professional crew runs. We're not going to dumb it down. By the end you'll know whether this is a Saturday afternoon for you — or whether the $400–$600 small-tier repair we'd charge is the better trade.
Manufacturer technical bulletins from GAF and Owens Corning are the source of truth on nailing specs, sealant requirements, and warranty conditions. We follow them; you should too if you're going to attempt this.
The process
Eight steps. Done in this order.
Gather what you need (the right stuff, not the hardware-store stuff)
You need: replacement shingles matching the existing product, galvanized ring-shank roofing nails (1¼" minimum, longer if going through ice & water shield), a flat bar for lifting the shingle above, a hammer or pneumatic nailer set to the correct depth, a tube of manufacturer-approved roofing cement, and proper ladder + fall protection. Roofing-supplier shingles are not the same as big-box-store shingles — supplier product carries the original manufacturer warranty.
Pick the right day and time
Warm enough for the sealant bond to set: 50°F minimum, ideally 60–80°F. Dry — no rain in the forecast for at least 24 hours after the work. Mid-morning to mid-afternoon when the roof is warm but not so hot the shingles are soft enough to tear (afternoon work in July is risky). Low wind. If any of those conditions are wrong, wait. The repair waits better than a botched repair.
Lift the shingle above the damaged one
Asphalt shingles overlap. Each shingle is nailed across its top, and the shingle above it covers those nails with its bottom edge. To remove the damaged shingle, you have to first lift the shingle directly above it. Slide the flat bar under the shingle above, work it gently from side to side to break the sealant bond, and lift carefully. In warm weather the bond releases without tearing; in cold weather you may need a heat tool first. Do not force it.
Remove the nails from the damaged shingle
With the upper shingle lifted, you can now see the nails holding the damaged shingle to the deck. Use the flat bar to pry each nail straight up, working slowly so you don't tear the shingles around it. There are usually 4–6 nails per standard shingle. Pull every one. Don't cut them off flush — exposed nail shanks become rust points and wear holes in any shingle that overlaps them.
Slide the new shingle into place
Position the new shingle in the exact spot the old one came from. Make sure it sits flat against the underlayment, with the same exposure (distance from the bottom edge to the shingle above) as the existing courses. Asphalt shingles in CT are typically 5⅝" exposure on architectural and 5" on 3-tab — match what's already there.
Nail the new shingle — in the nail line
This is the step that decides whether your repair holds. Drive nails through the printed nail strip — about an inch wide, running across the shingle below the overlap of the upper laminate layer. Four nails per shingle in normal wind zones; six in high-wind areas. The nail head should sit flush with the shingle surface — not driven into the mat (which breaks the seal) and not standing proud (which lifts the shingle above). This is where most DIY shingle repairs go wrong; this is also where most failed roofs reveal that the original installer rushed.
Re-bed the upper shingle with sealant
The shingle above lost its sealant bond when you lifted it. Restore the bond by applying a manufacturer-approved roofing cement (not generic caulk) in three quarter-sized spots along the underside of the upper shingle's bottom edge — one near each nail head you cleared. Press the upper shingle down. In warm weather the cement plus solar heat re-set the bond within hours.
Verify and document
Step back. Look at the repair from below and from the side. The new shingle should sit flat, line up with the courses, and not stand proud. Photograph the area for your records — useful if the repair is ever revisited or if you sell the home. Then wait for the next rain and check the ceiling below for any unexpected drip; a properly executed shingle replacement should be invisible from inside.
The detail that decides everything
Why the nail line is the whole game.
Walk onto any failed roof and the failure pattern is the same. Shingles lifting from the bottom edge. Shingles separating along courses. The roof looks like it's shedding scales. The cause, nine times out of ten, is high-nailing — nails driven above the nail line, where they pierce only the upper laminate layer of the shingle and not the lower.
On a properly nailed shingle, each nail passes through both layers of the laminate near the bottom of the upper layer. The two layers lock together, and the nail engages both. In a wind event, the load distributes across the shingle correctly. The manufacturer's wind rating — typically 110 to 130 mph on a GAF Timberline HDZ — assumes this nailing.
On a high-nailed shingle, the nail engages only the upper layer. In a wind event, only the upper layer holds; the lower layer flaps. After enough cycles, the shingle separates along the laminate seam. The roof “ages out” in 12 years instead of 30.
If you are going to repair a shingle yourself, this is the one detail that matters most. Look for the printed nail strip — it's explicitly marked on the shingle. Drive your nails in it. Not above. Not below. Not into the visible exposure area. In the strip.
The honest read
When this is a DIY job vs when it isn't.
DIY is reasonable when:
- Single missing shingle on a low-pitch (under 6/12) roof, warm weather, dry conditions.
- The shingle product is still in production and you can source a match.
- You have proper ladder access and someone home in case of incident.
- You've done a shingle repair before, or you have someone with you who has.
Call a roofer when:
- Pitch is 8/12 or steeper.
- Temperature is under 50°F or rain is in the next 24-hour forecast.
- The roof is older than 20 years (you're probably looking at end-of-life, not a discrete repair).
- Damage extends to flashing details — chimneys, skylights, valleys, sidewalls.
- You can't source matching shingles.
- You don't have proper fall protection.
- The math on time + materials + ladder rental + risk lands above the pro repair quote.
Connecticut realities
Why CT roofs make this harder.
Connecticut weather adds three complications to shingle repair that warmer-climate guides don't mention. First, the temperature window for proper sealant bond is narrow — roughly April through October. Second, the freeze-thaw cycle means that any compromised seal becomes a leak before next summer. Third, CT shingle roofs typically run 6/12 to 9/12 pitch on colonials and 4/12 to 6/12 on ranches — the colonials especially are not where amateur ladder work belongs.
CT also has a building code requirement (updated 2018) for ice-and-water shield over living spaces in most assemblies. If your roof was installed before that update, the eaves and valleys are statistically more vulnerable to ice-dam back-flow — meaning a shingle repair at the eave is not just a shingle repair, it's a check on whether the underlayment is doing its job.
None of this means DIY is wrong. It means the situations where DIY makes sense are narrower in CT than in, say, North Carolina. Plan for it.
Or have us do it
$400–$600 covers most shingle repairs.
Color-matched, properly nailed in the manufacturer's nail line, photo-documented, 1-year leak warranty.
Get Your Roof Quote
Replacement or repair · 60 seconds · No phone tag
What can we help with?
Licensed CT HIC.0703927 · Fully insured · No phone tag
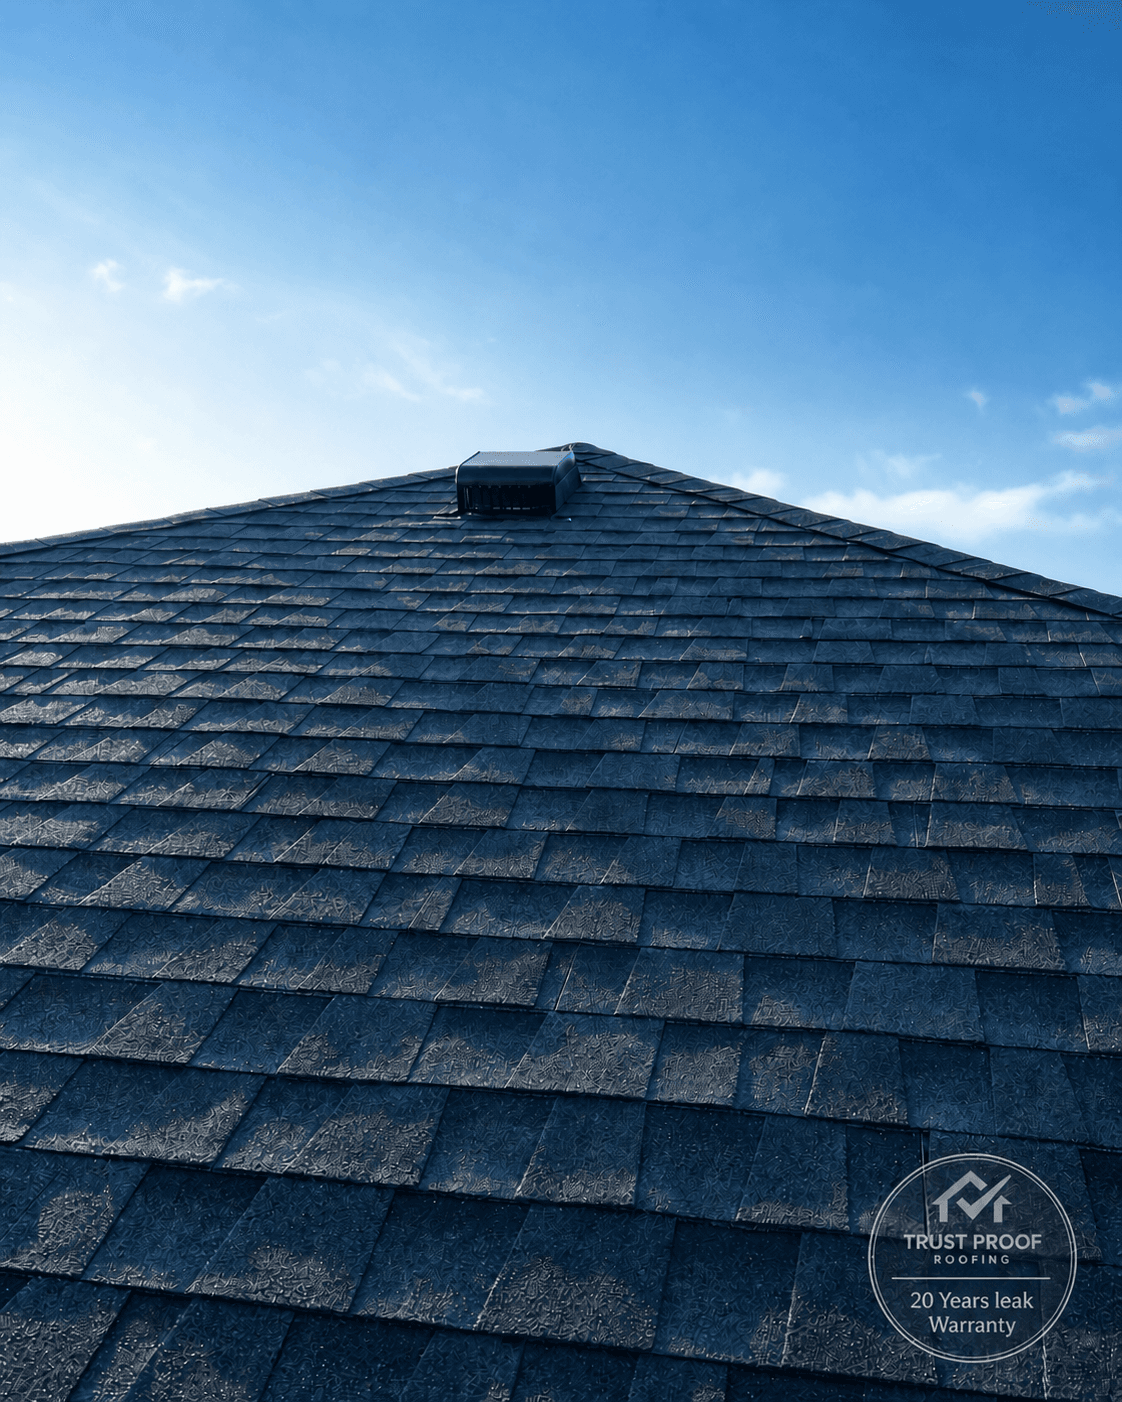
Properly installed architectural shingles
Nails in the nail line, sealed bond, flat course alignment
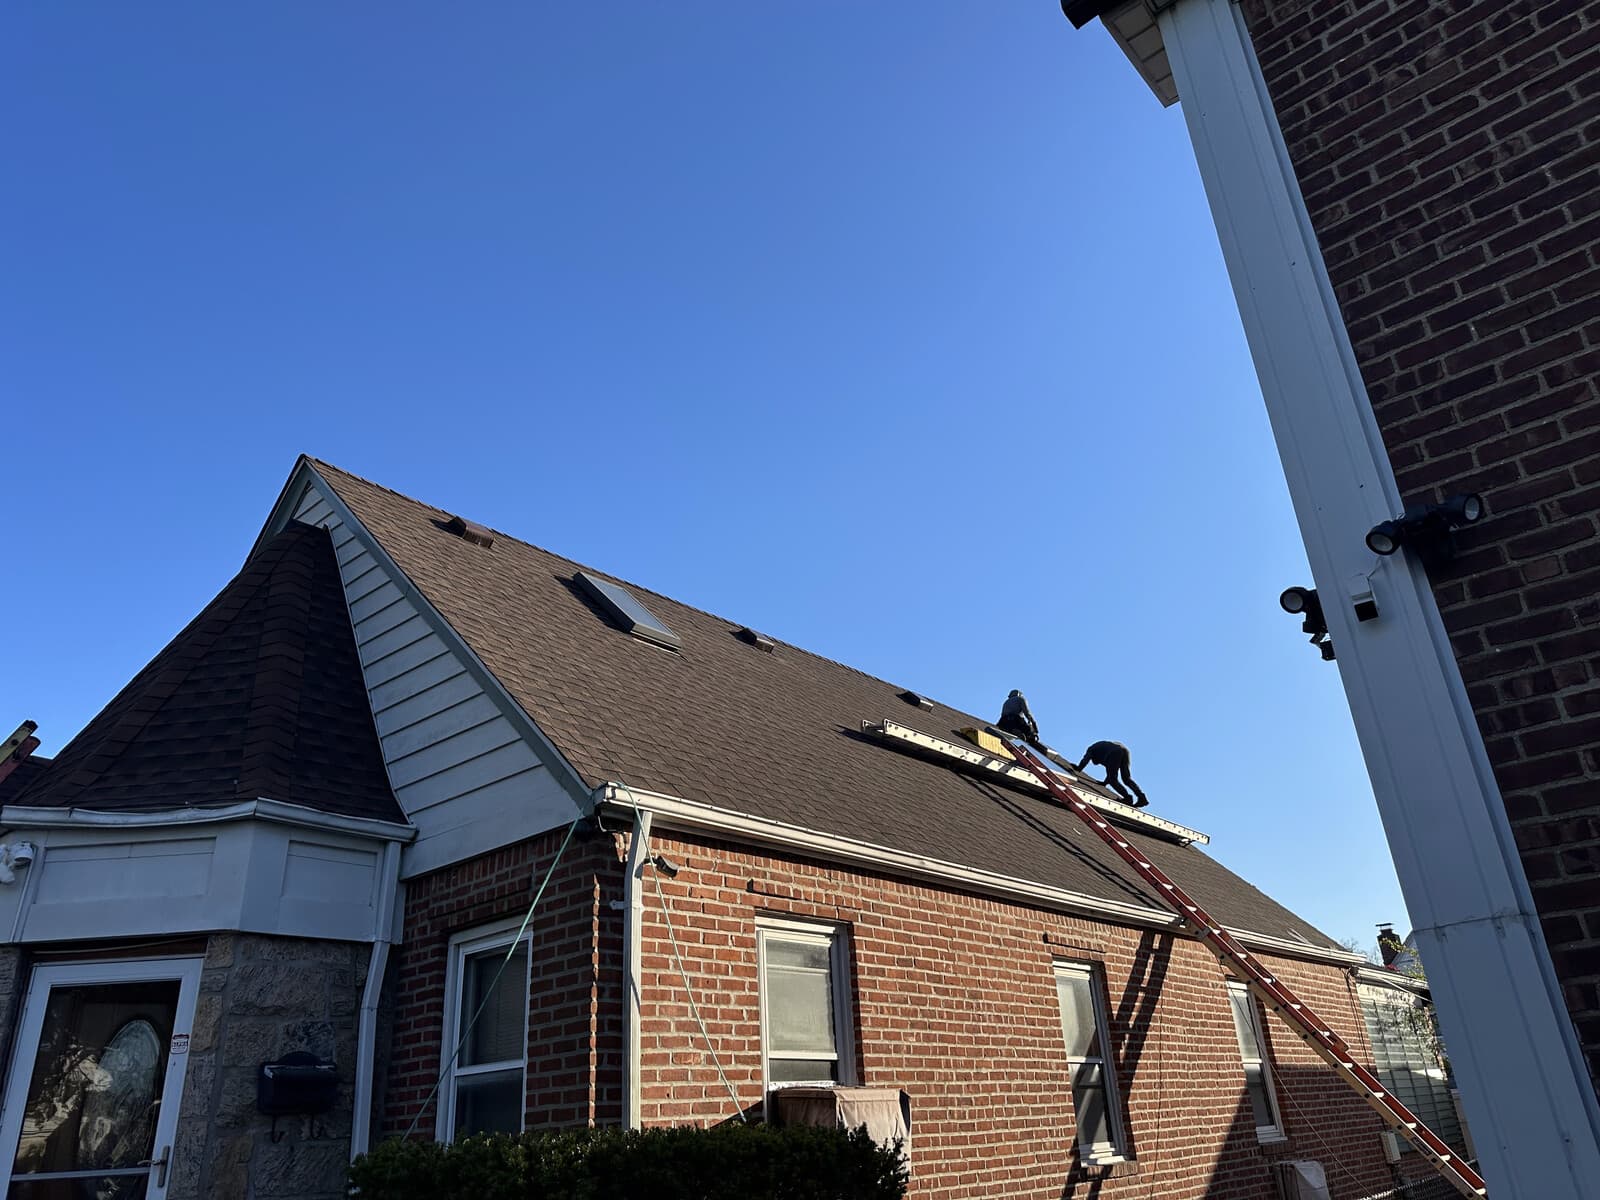
Shingle replacement in progress
CT brick colonial · crew documenting the repair
Common questions
Shingle repair questions, answered.
Can I really replace one shingle myself?
Sometimes yes — but the conditions matter. Single missing or damaged shingle on a low-pitch roof (under 6/12), in warm weather (50°F+ for the sealant to bond), with the same shingle product still available, with proper ladder access. Even with all of that going for you, the nail line is where most DIY shingle repairs fail. Get it wrong and the new shingle becomes a leak point and a wind-uplift target.
What is the "nail line" and why does it matter?
Every asphalt and architectural shingle has a printed nail strip about an inch wide running across the shingle near the bottom of the upper laminate layer. Nails driven in this strip pierce both layers of the shingle, providing the structural hold and the manufacturer-rated wind resistance. Nails driven above the strip pierce only one layer — the shingle loses its wind rating and pulls loose in the next storm. Nails driven below the strip are visible after installation and fail to engage the upper layer. The strip is exactly where the nail goes. GAF and Owens Corning installation bulletins are explicit on this.
How do you match new shingles to an old roof?
Color match on a roof more than a few years old is the conversation we have with every customer. UV exposure ages shingles, and manufacturers run slight color variations between production batches. The closest match comes from the same product line — for example, GAF Timberline HDZ in the same color name. The new shingles will be slightly more saturated than the surrounding aged shingles for the first season; they usually blend within 12 months as the new shingles weather and the old ones don't fade further.
Can I use any shingles or do they have to match the original?
They should match. Mixing 3-tab and architectural shingles on the same roof creates visible patches and lifts manufacturer warranty issues. Mixing manufacturers can cause subtle bond issues at the seal strip (each manufacturer formulates their adhesive differently). On any CT roof under 25 years old, match the existing shingle product if you can. If you can't, replace a larger area to make the patch less visible.
What temperature does it need to be to repair shingles?
Asphalt sealant strips activate at roughly 50°F. Below that, the bond doesn't set, and the shingle stays loose until a warm day. CT spring through fall is shingle-repair weather. November through March, the work is risky — repairs done in cold conditions usually fail by July. We schedule winter emergency repairs around warm afternoons or use a heat tool to soften the bond.
How long does it take a professional to replace shingles?
For a small area (1–10 shingles on a single slope): under an hour of on-roof work. For wider damage (one slope, dozens of shingles): a half-day. The slow parts are the setup, the diagnosis of whether surrounding shingles are also compromised, and the photo documentation. The actual nailing is fast.
How much does professional shingle repair cost in CT?
Trust Proof Roofing published pricing: small repair $400–$600 covers most isolated shingle replacement jobs. Bigger damage runs $800–$1,300. All-in rate is $300/hour plus materials with a $400 minimum. By comparison, Angi 2026 reports typical CT roof repairs run $700–$3,000 with a $900 median.
When should I just have a roofer do it?
When the shingles to replace are on a pitch over 6/12. When the existing shingle product is out of production or you can't source a match. When the temperature is under 50°F. When the damage extends across multiple courses or includes a flashing detail. When the roof is over 20 years old (you're probably looking at end-of-life). And — most often — when you do the math on the time, ladder rental, materials, and risk versus a $400–$600 small-tier pro repair.
Ready to book pro repair? Shingle roof repair service →
Looking at a leak, not just shingles? How to repair a roof leak →
Roof might be past repair-stage? Repair vs replacement in CT →
Or just let us nail it. Literally.
$400–$600 for most shingle repairs in CT. In the nail line. Every time.